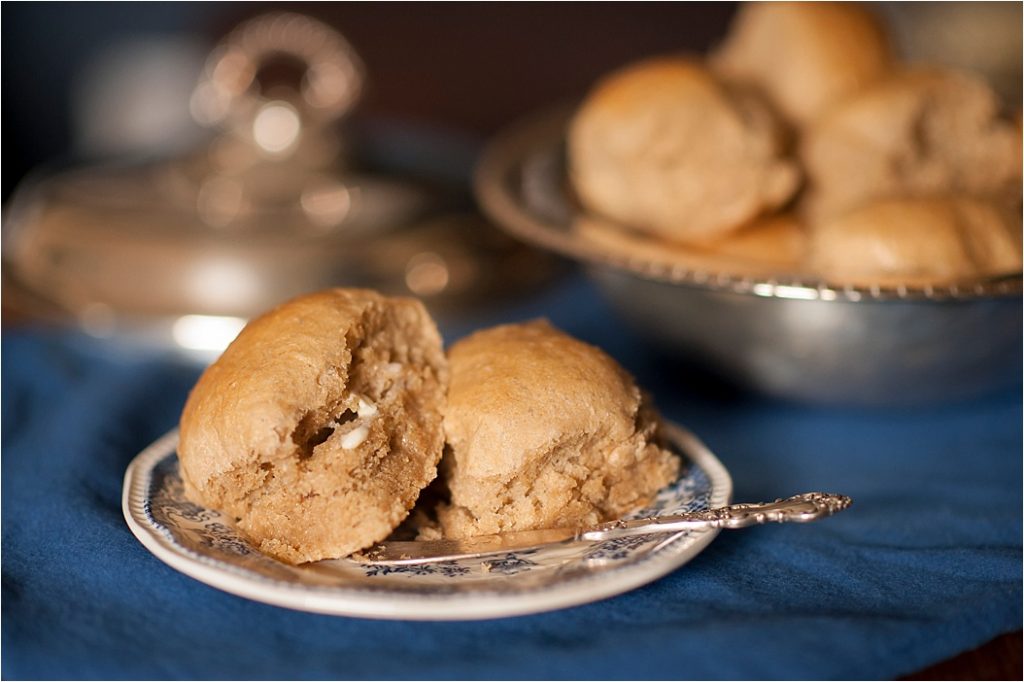
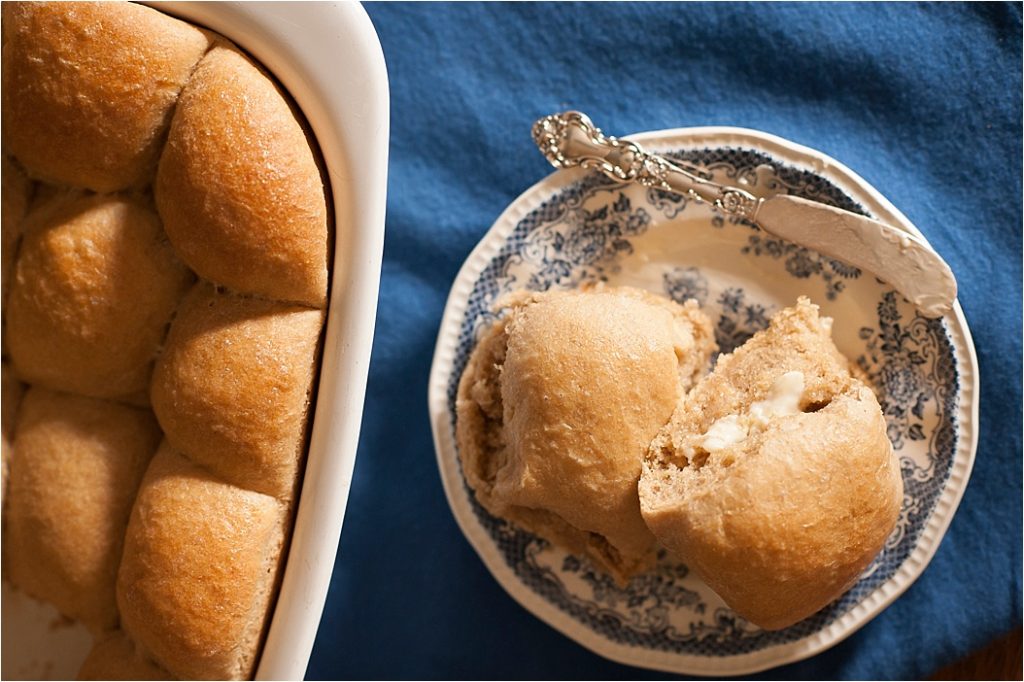
There is just something about piping hot rolls fresh out of the oven! My family loves to devour these fluffy and soft sprouted rolls! I think people shy away from making rolls thinking that they are time consuming or difficult, but this recipe and my easy method couldn’t be much simpler.
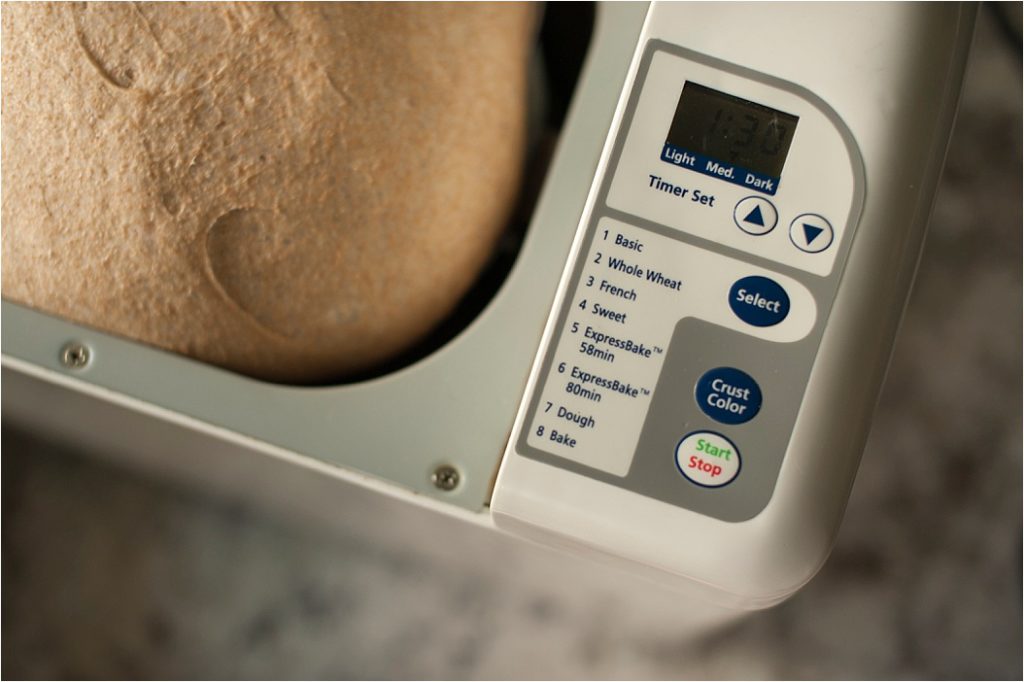
The dough for these rolls can either be made in a mixer or in a bread machine on the dough cycle before baking in the oven. My preferred easy method is using the bread machine, but if you don’t have one of those, then no worries, because I give details and pictures on both methods below so you can choose your favorite. They can also be made by hand if you don’t have a mixer or a bread machine.
The bread machine is my shortcut secret to making bread or rolls. It is ridiculously QUICK and EASY! It literally takes me about 5 minutes to put the ingredients into the bread machine then about another 5 minutes to shape them into rolls once the dough cycle is finished. This recipe makes two dozen rolls. So, in about 10 minutes of my active time, I can have two dozen rolls made, or if I prefer I can use the dough to make one pan of rolls and one loaf of bread or two loaves of bread, or hamburger buns, etc….you get the picture…super easy and versatile!
Check out our
NEW
Sprouted bread making video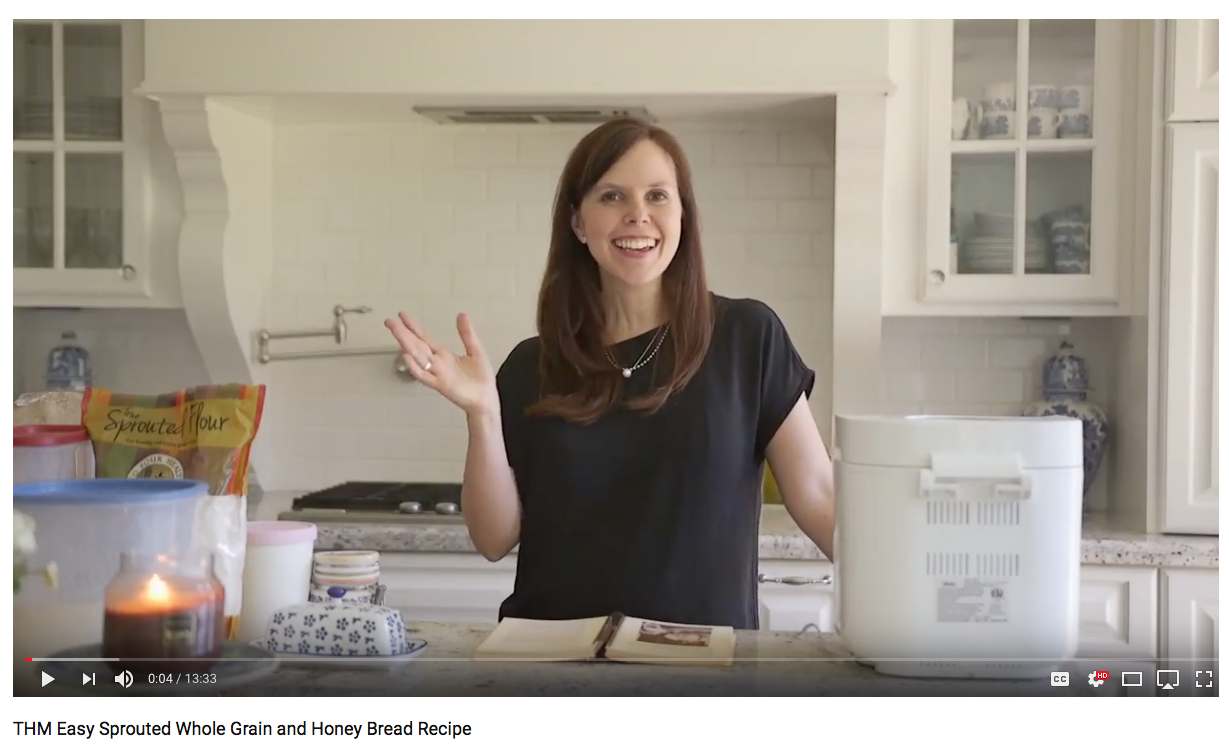
on YouTube to help you see exactly what I do when I make my bread and why I use sprouted flour!
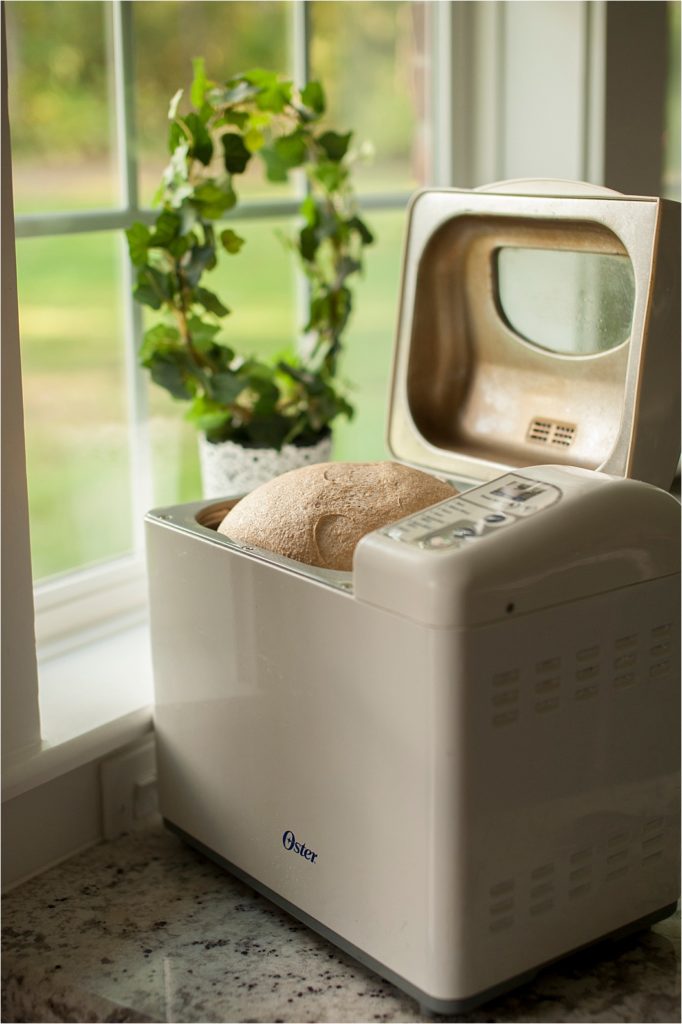
If you are unfamiliar with bread machines, the dough cycle kneads the bread and rises the dough for me the first time. I am so fond of this simpler method with the bread machine that I now own three bread machines, so I can make lots of rolls and bread! One was a gift to me 16 years ago from my hubby and the other two I found at garage sales for next to nothing. The brands of bread machines that I own are Oster and Breadman and they seem to work equally well. The main thing that will need to be noted is that this recipe requires a 2 lb. capacity bread machine. You can buy the Oster Bread Machine HERE.
These delicious rolls would make a great healthy addition to a holiday table or, because they are so easy to make, you can feel good about making them any time you like! Try them and see if your family agrees with my family that these are the softest, and fluffiest sprouted rolls they have had! My kids love forming the dough balls for these rolls, so that makes my job even easier!
In my post about making my Easy Sprouted Whole Grain and Honey Bread HERE, I go into great detail about sprouted flour and how, once grains are sprouted, they become more like a vegetable to our body and don’t spike the blood sugar the way un-sprouted flours do. In my Easy Sprouted Whole Grain and Honey Bread post, I also tell all about the best ingredients and specific brands for making the tallest and fluffiest sprouted bread. I’ve done a lot of experimenting with different products and brands through the years and the ones I recommend have given me the best results, so I would be hesitant to substitute.
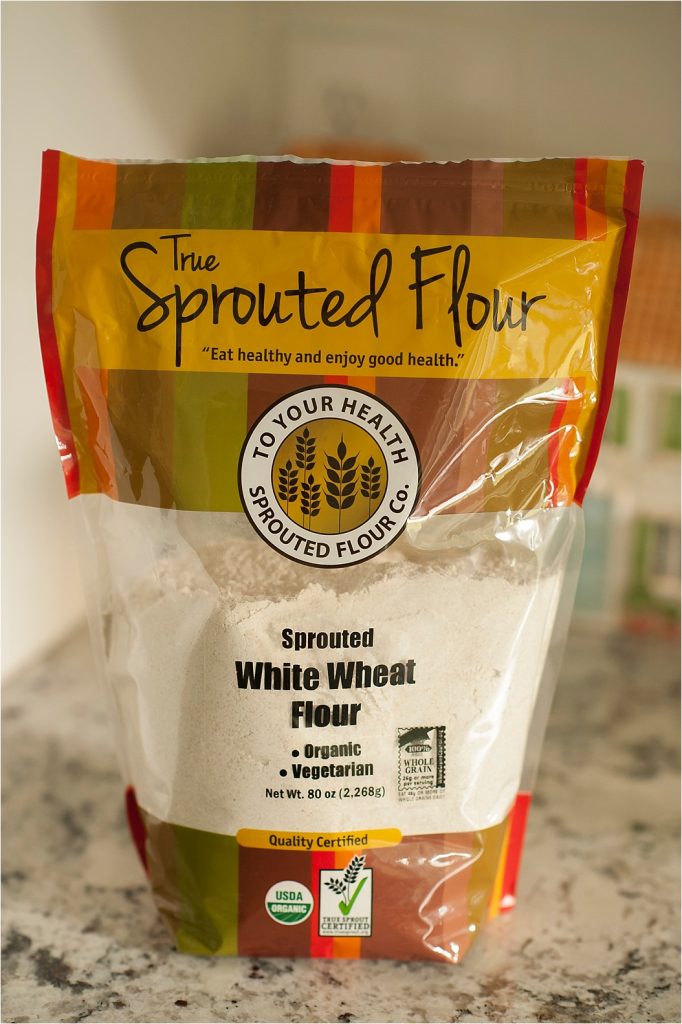
There are three products that make these rolls great. The first being a product that I recently found that I have fallen in love. It is a sprouted flour made with white wheat berries, as opposed to the more commonly used red wheat berries. The brand that uses the white wheat is called “To Your Health” and can be bought HERE. I like this product better for baking because I have always had better success with texture and rise when I use the white wheat flour as opposed to the red wheat flour.
The “To Your Health” brand is a bit more costly than the other brand of sprouted flour that I use in my Easy Sprouted Whole Grain and Honey Bread recipe, but because it produces a higher rise and fluffier product than the red wheat flour, I have been successful at using all sprouted flour in this recipe while still achieving a superior rise and soft texture. When making my bread recipe with the white whole wheat “To Your Health” brand of flour, the price only comes out to about $2.75 per loaf of bread or per dozen rolls (this recipe makes approximately 2 dozen rolls depending on the size of dough balls you form), which is still a great price! If you wish to save money, you can always make rolls out of my Easy Sprouted Whole Grain and Honey Bread recipe which uses a different brand of sprouted whole wheat (red berries) flour.
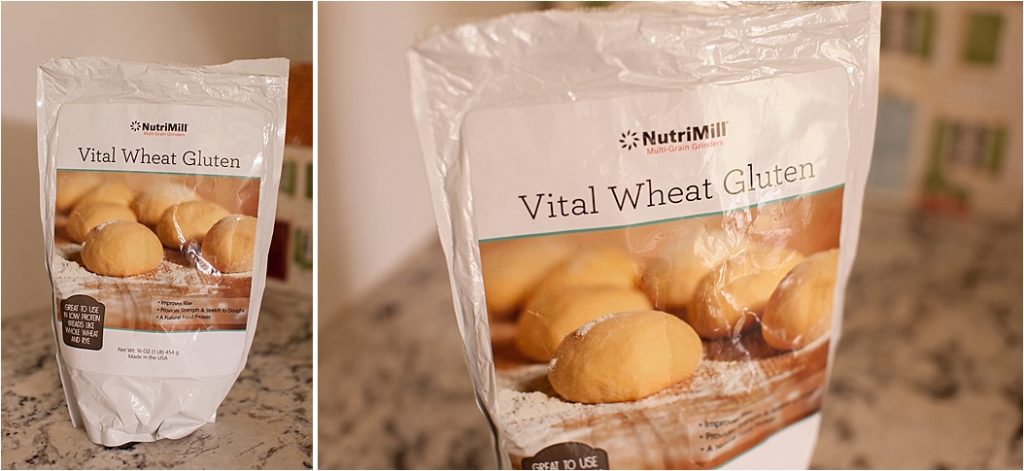
The second product that is imperative to use in this recipe to achieve a high rise is called Vital Wheat Gluten. The Nutrimill brand is the only one I have had success with so far and it can be purchased here, but I have read good reviews about this brand of Vital Wheat Gluten on Amazon here.
The last product that I highly recommend is a fast acting yeast called SAF instant. In my testing, it has produced much higher and better dough than all of the other yeast brands I have tried.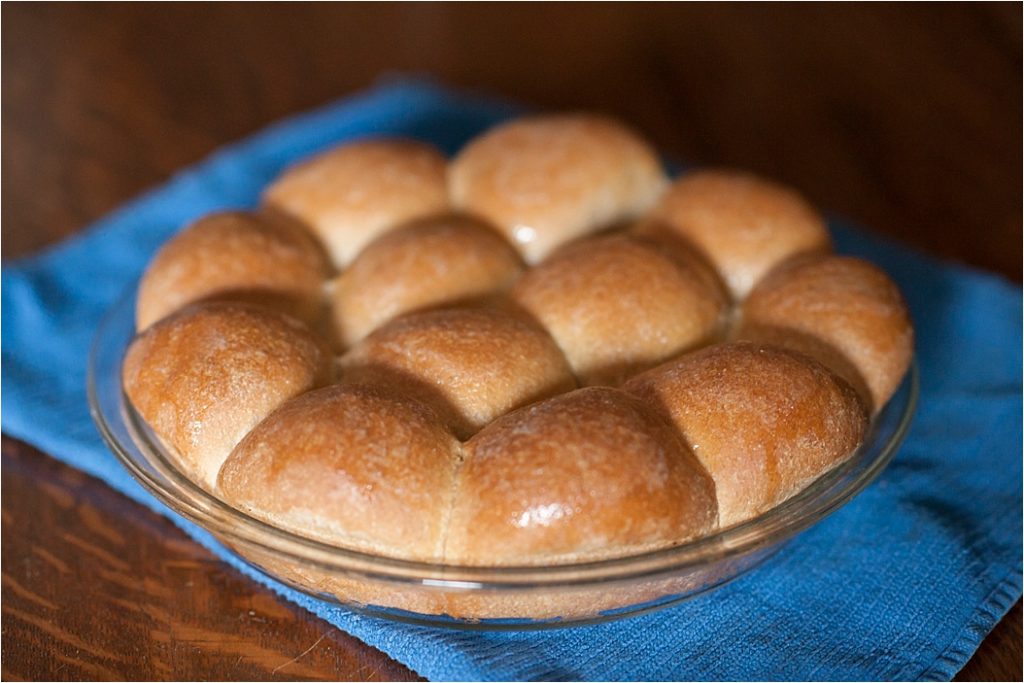
PIN IT!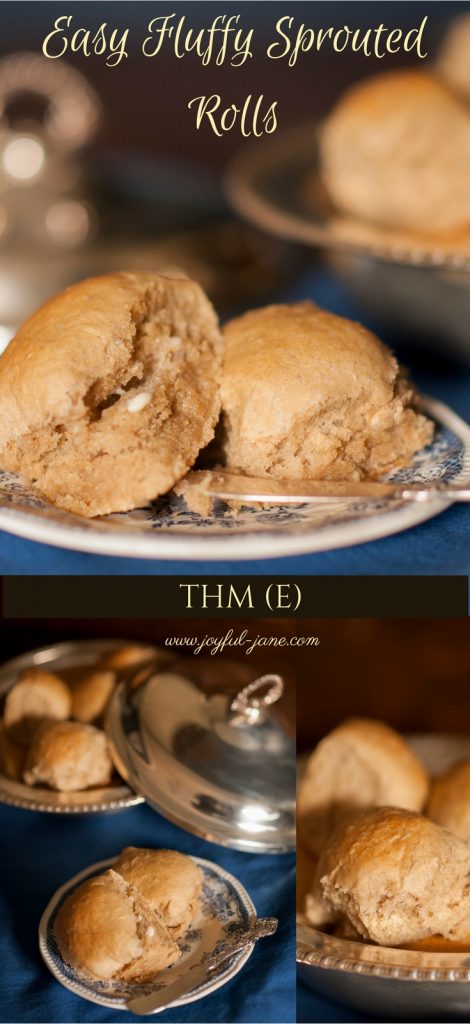
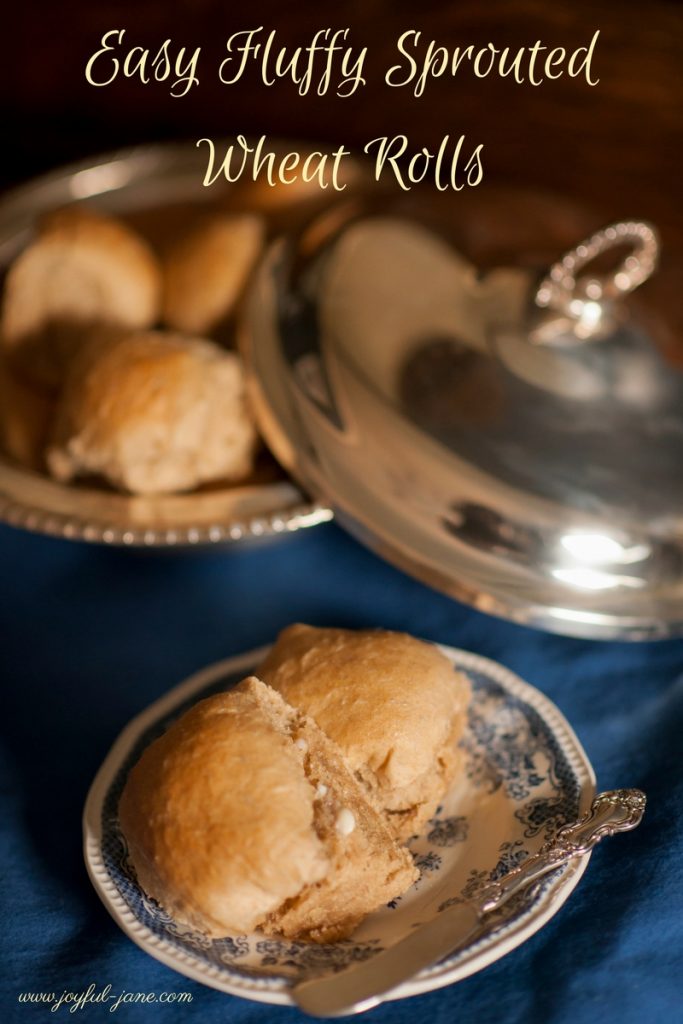
Easy Fluffy Sprouted Wheat Rolls
THM (E)
2 cups plus 2 Tablespoons warm water
2 Tablespoons butter, softened
1 Tablespoon honey
2 teaspoons salt
4 2/3 cups organic sprouted “To Your Health” white whole wheat flour (It is important that you use the WHITE “To Your Health” flour brand for this recipe. If you cannot use this brand or would like to use a cheaper brand of sprouted flour, then use the dough from THIS recipe for my Easy Sprouted Whole Grain and Honey Bread instead to make these rolls. That post explains the importance of the different kinds of sprouted and un-sprouted flours and how they affect the dough rising)
1/4 cup Vital Wheat Gluten (This is the brand I use and recommend)
1 Tablespoon SAF Instant yeast (It is important to use the SAF brand of yeast for best rising)
Kristen’s Easy Bread Machine Method-
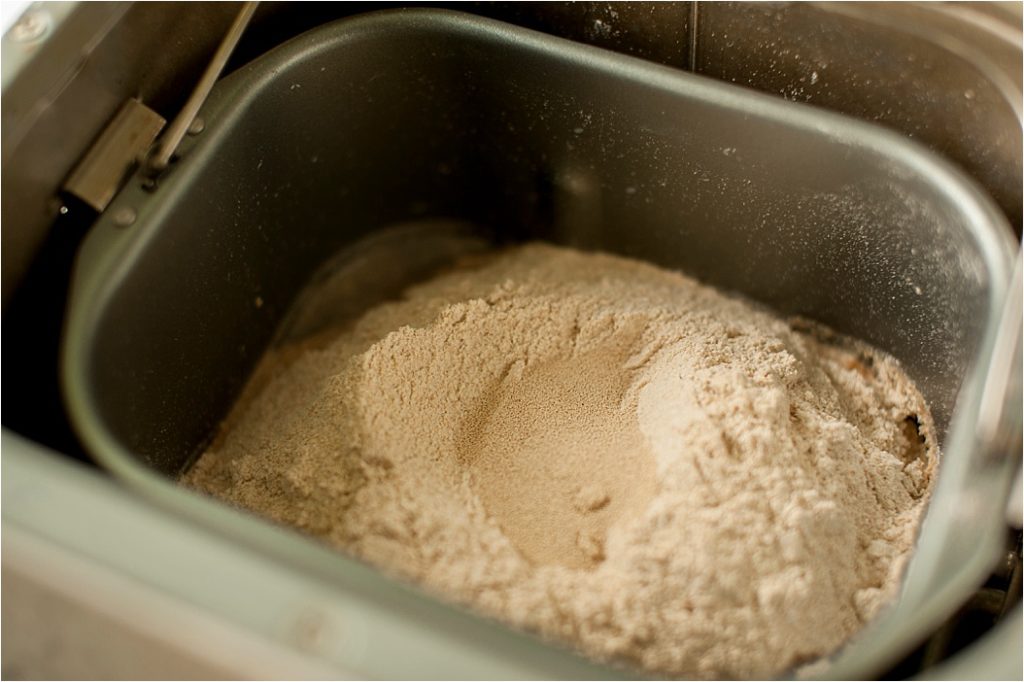
1. Put warm water, softened butter, honey and salt into a 2 lb. loaf capacity bread machine pan.
2. Measure flours and Vital Wheat Gluten; leveling off with the back of a knife and pour on top of liquid mixture.
3. With your finger, make a well in the flour and pour yeast into well; making sure the yeast does not touch the liquid mixture.
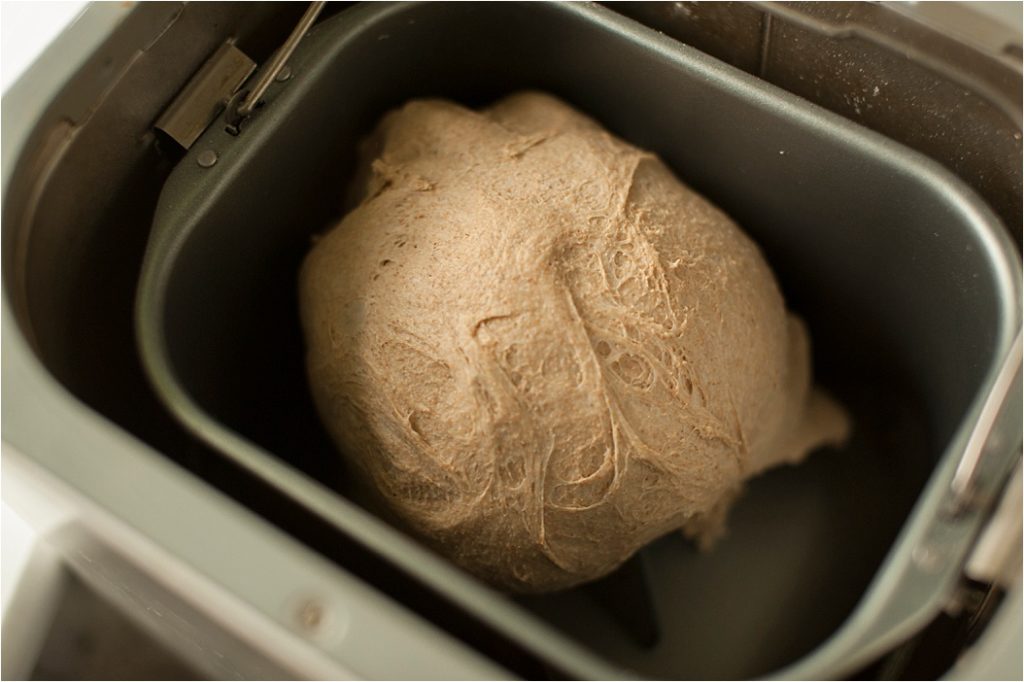
4. Turn machine onto “Dough Cycle”. Watch dough occasionally as it starts to form into a ball; scraping down sides of pan with a rubber spatula if needed. Depending on the stickiness of the dough, you may need to add a bit more water to ensure that a nice round ball is formed, but it may not be necessary. Be sure that the dough is slightly sticky, but still forming a ball—slightly sticky is a good thing—it will help your bread be fluffier, rise better and have a better consistency after it is baked. You don’t want the dough ball to be too hard.
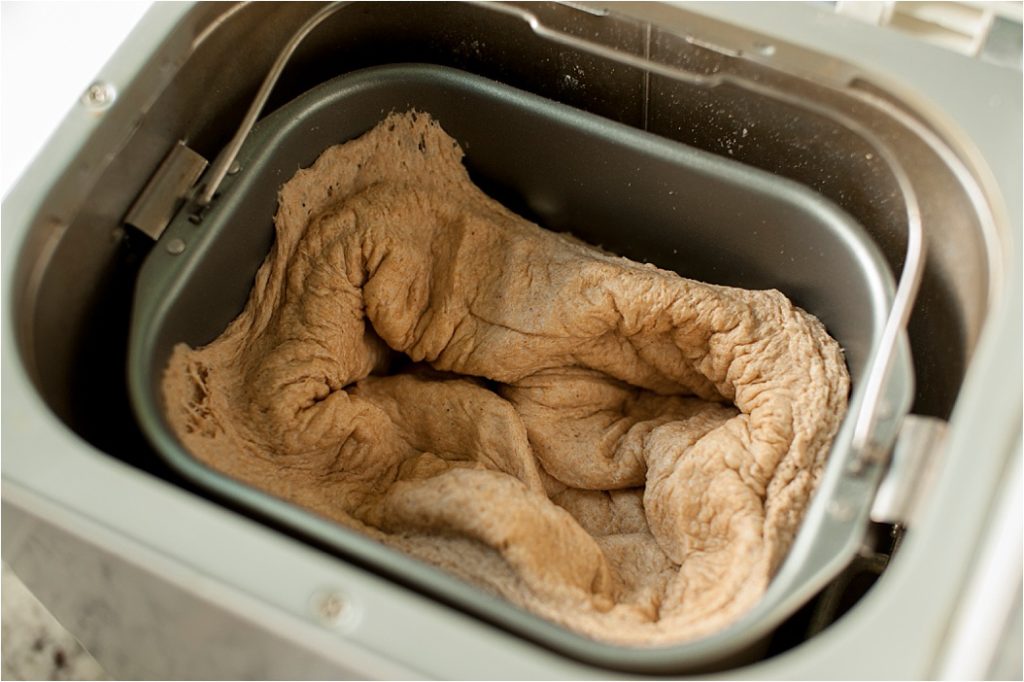
5. When the dough cycle is complete, punch down the dough. If you are wanting to make two pans of rolls as opposed to one large pan of rolls, divide the dough in half first then begin pinching off equally-sized dough portions to shape the dough into round balls. Place the dough balls side by side into two greased 9 inch glass pie dishes (I like to put 12 dough balls in each pie pan for a total of 24 rolls). The rolls can also be made in one large pan such as a 9×13 glass dish if you prefer. If you have a coconut oil spray, I recommend spritzing a small amount on the rolls give a light coating of oil on top of the dough. The oil will help the dough stay moist and rise well, but is optional. If you prefer rolls that are not touching, then place your balls of dough on a greased parchment paper lined cookie sheet a couple inches apart.
6. Warm oven to about 80-100 degrees, then turn oven off. Place rolls into the warm oven for 30 minutes to rise.
7. Carefully remove rolls from oven and preheat oven to 350. When preheated, place rolls back into oven on the middle rack to bake for about 25-27 minutes depending on how fast and hot your oven cooks.
Yield: Approximately 2 dozen medium-sized rolls or it can be made into 2 loaves of bread.
You can buy the Oster Bread Machine HERE.
The two pictures below show a before rising and after rising view of the rolls before they are baked.

Mixer Method–
1. Put warm water, yeast, softened butter, honey and salt into a mixer bowl (such as a Kitchen Aid or Bosch mixer) with a dough hook attachment. Let it sit for 5 minutes while the yeast proofs and starts to bubble. Add 3 cups of flour and begin mixing on slow speed. Gradually add the remaining flour until you have a nice round ball that is slightly sticky. You may have to scrape down the sides. Let the mixer knead the dough for 10 minutes. Remove the dough then place into a greased metal bowl (I like to dip the top of my dough ball into the oil to make it nice and supple for rising). Heat your oven to about 80-100 degrees then turned the oven off. Cover the bowl with a towel and place it into the warm oven and let rise for 30 minutes until doubled in size.
2. When the dough is finished rising, punch down the dough. If you are wanting to make two pans of rolls as opposed to one large pan of rolls, divide the dough in half first then begin pinching off equally-sized dough portions to shape the dough into round balls. I form my dough balls by sort of turning the sides down and under so they have a nice and smooth top. Place the dough balls side by side into two greased 9 inch glass pie dishes. The rolls can also be made in one large pan such as a 9×13 glass dish if you prefer. If you have a coconut oil spray, I recommend spritzing a small amount on the rolls give a light coating of oil on top of the dough. The oil will help the dough stay moist and rise well, but is optional. If you prefer rolls that are not touching then, place your balls of dough on a greased parchment paper lined cookie sheet a couple inches apart.
3. Warm the oven again to about 80-100 degrees, then turn oven off. Place rolls into the warm oven for 30 minutes to rise.
4. Once risen, carefully remove the rolls from the oven and preheat oven to 350. When preheated, place rolls back into oven on the middle rack to bake for about 25-27 minutes depending on how fast and hot your oven cooks.
Yield: Approximately 2 dozen rolls or two loaves of bread
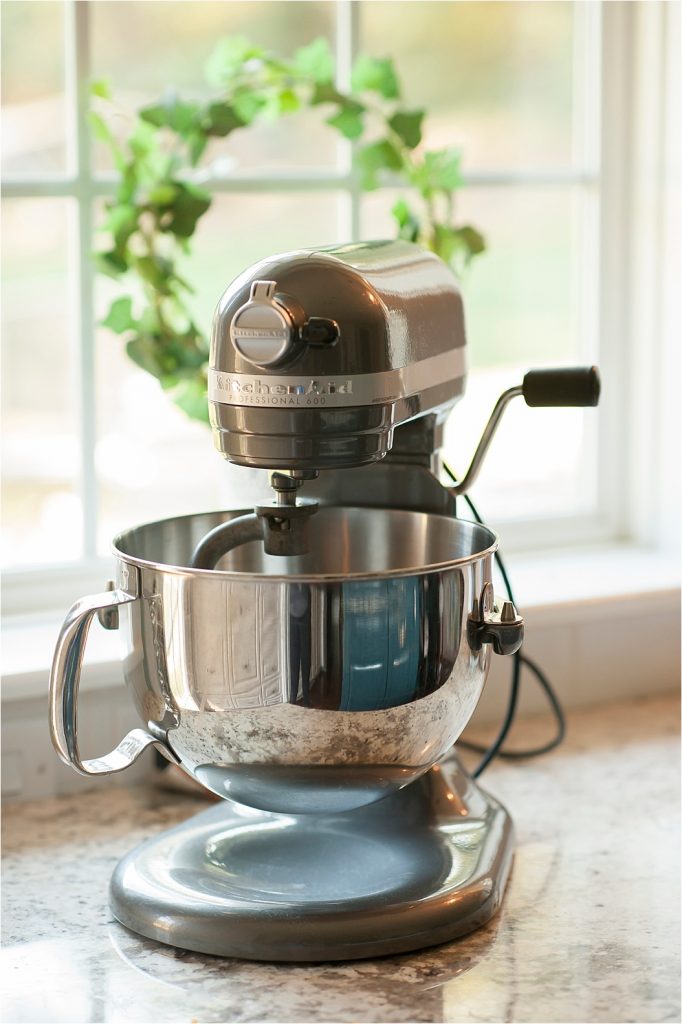 These two pictures show the yeast proofing and the dough mixing.
These three pictures below show the un-risen dough before putting it in the oven to rise and then the risen dough and the punched down dough.
These two pictures below show a before rising and after rising view of the rolls before they are baked.
In this picture below, I decided to make one loaf of bread and one pan of rolls out of one recipe of dough.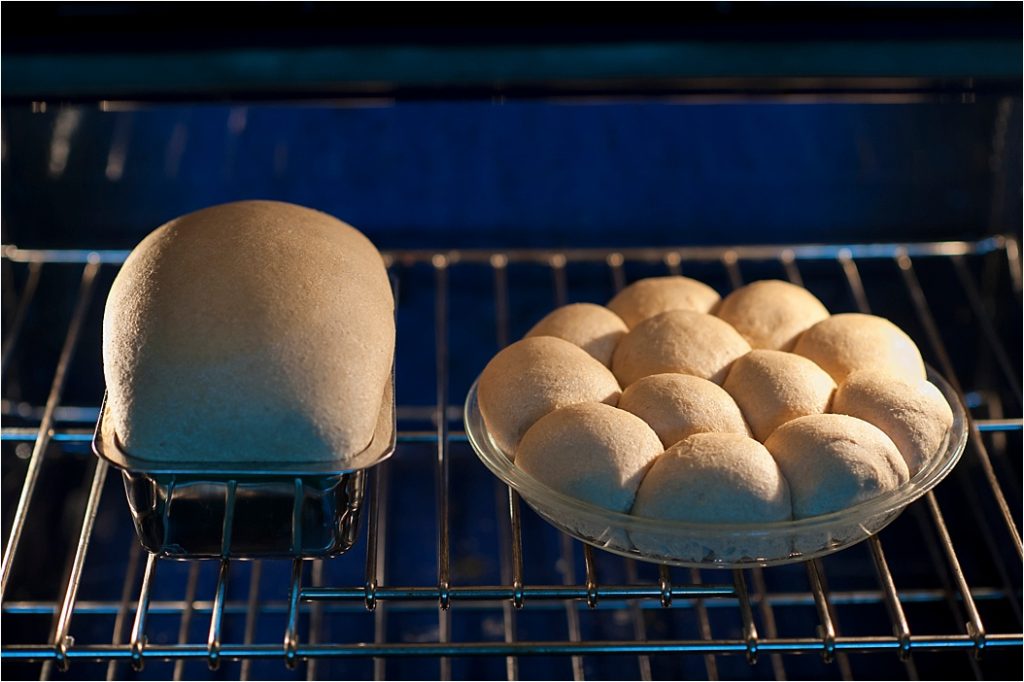
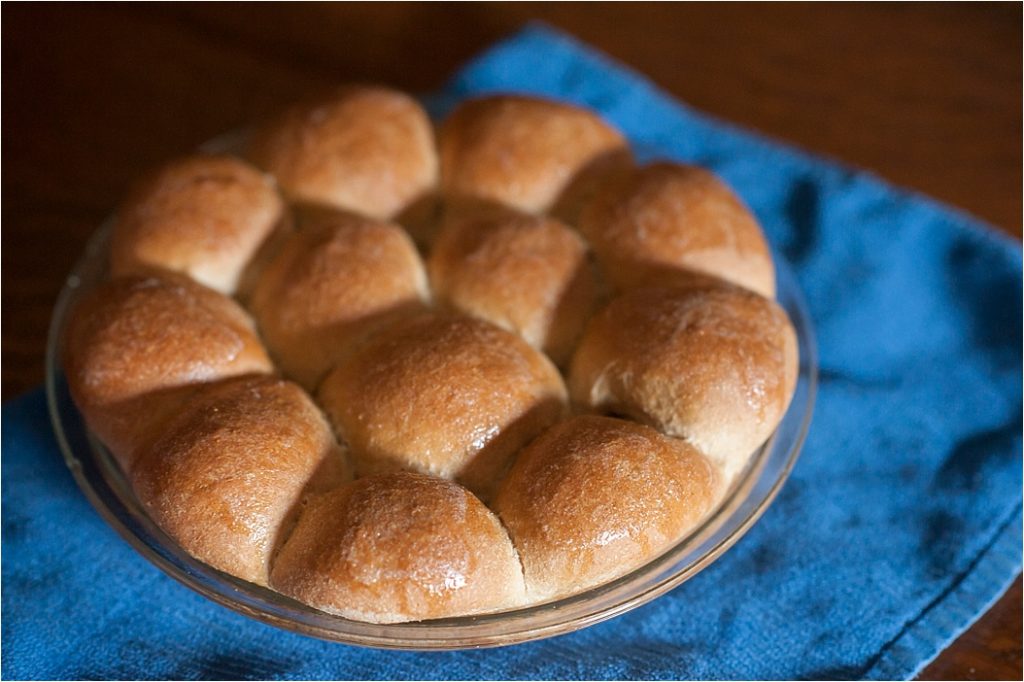
Pin It!





I need to be gluten free, do I need to use the gluten or is there anything I can use instead of the gluten? These look so delicious!
Hi Kathie! In my post about my sprouted bread https://joyful-jane.com/thm-easy-sprouted-whole-grain-and-honey-bread-machine-bread-e/ I tell about why I had to add gluten to my original bread recipe. This roll recipe uses a different flour (the white sprouted wheat berries), so it is possible that it would turn out well without the added gluten. I haven’t tried making the roll recipe without gluten, so I can’t say for sure. If you try it that way, let me know how it turns out!
Hi Kathie-Sprouted flour has some naturally occurring gluten in it although I’ve been told that some gluten intollerant people can east sprouted flour and not be affected by the gluten. If you are one of those, then you can try leaving the added vital wheat gluten out of the recipe, but I am not sure how well it will rise without it.
What’s the nutritional content for these per roll?
Thanks!
Susan, I am not sure what the exact value is for each roll, but I have seen web sites and apps that you could use to calculate that if you wish. =)
Would it work to half this recipe? We have a very small family.
Dawn, I haven’t tried halving the recipe, but I don’t see why it wouldn’t work.